Vigilante
Use a law enforcement vehicle to chase down and eliminate criminal threats in GTA Vice City Stories, unlocking stronger body armor for Vic Vance.
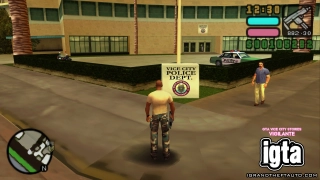
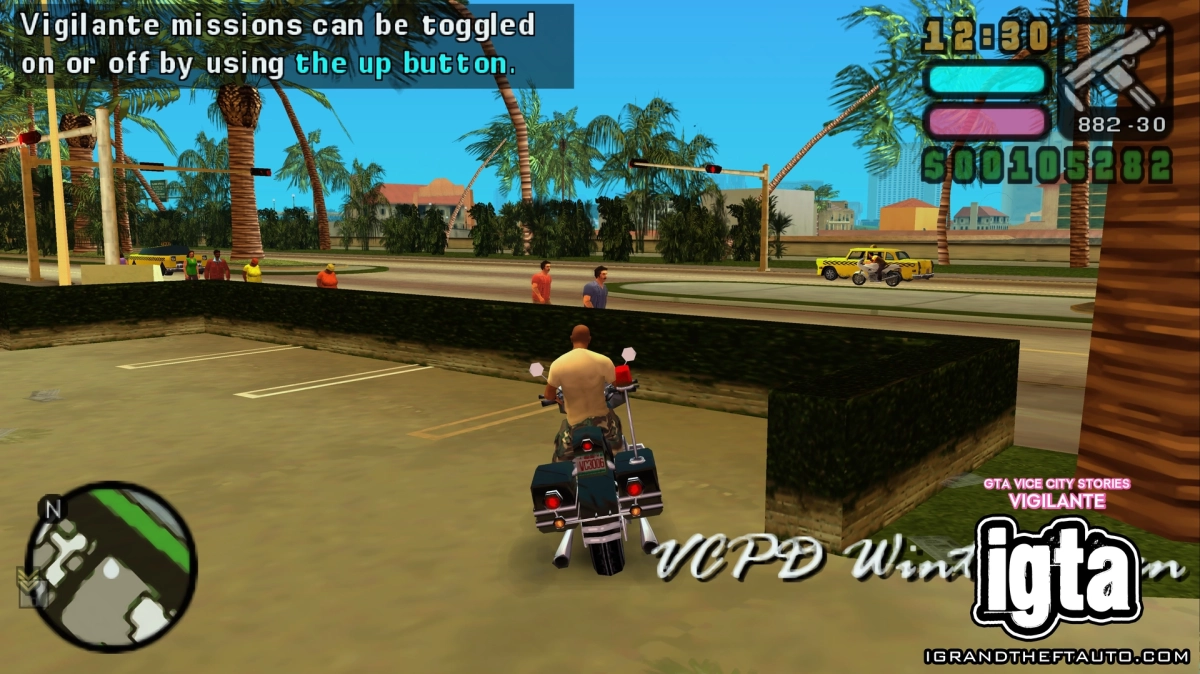
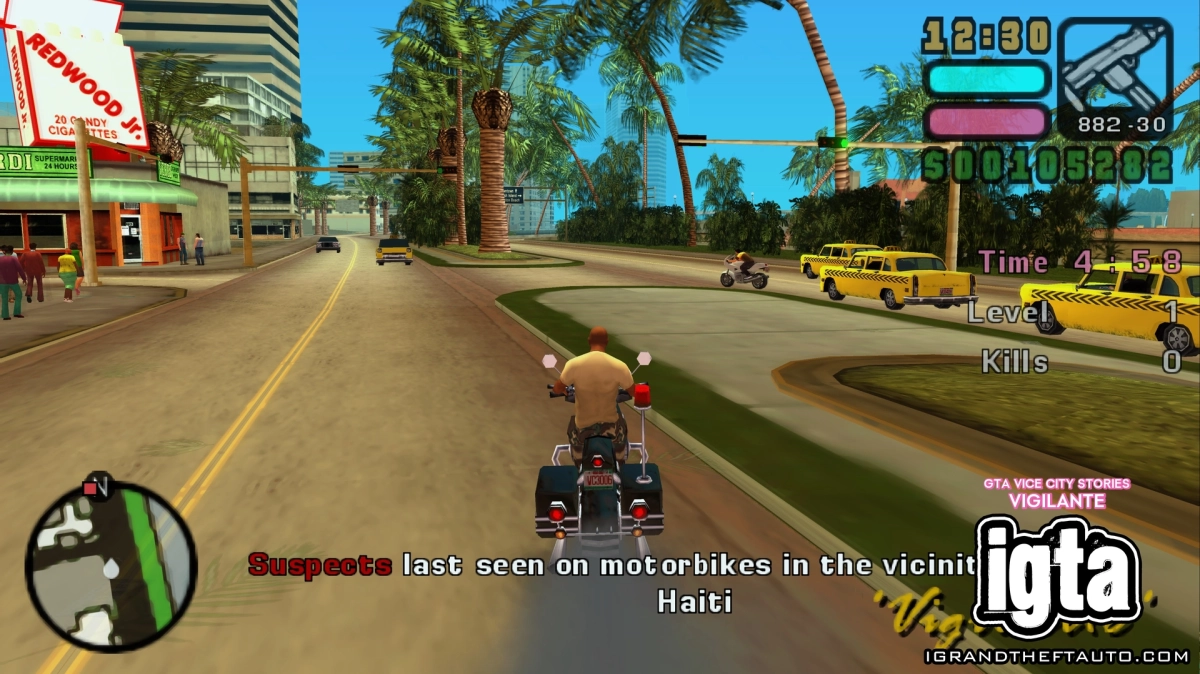
To start the Vigilante missions, you'll need to acquire a law enforcement vehicle and press the D-Pad Up button. There are a variety of different vehicles which can be used for the Vigilante missions, but the best option is the police bike, the VCPD Wintergreen which will always spawn outside the Police Station on each island. You could also get in trouble with the law and steal one.
Vehicles you can use for the Vigilante missions include;
- VCPD Cruiser
- VCPD Wintergreen
- VCPD Cheetah
- VCPD Enforcer
- FBI Washington
- Rhino
- Hunter
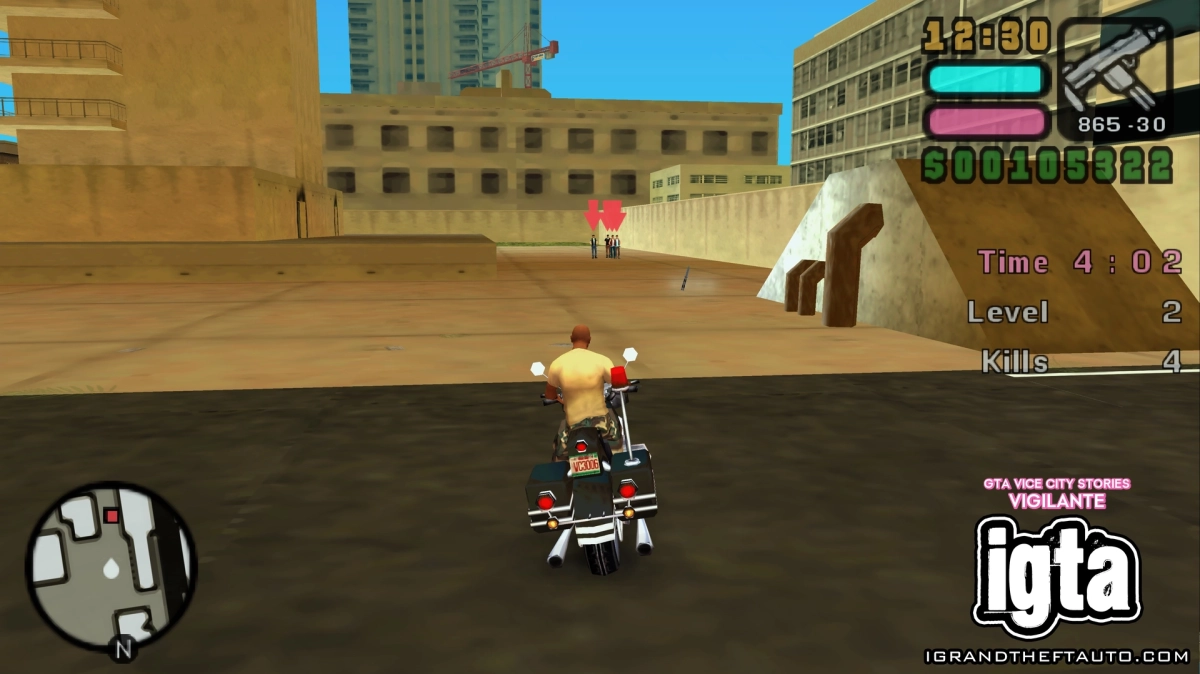
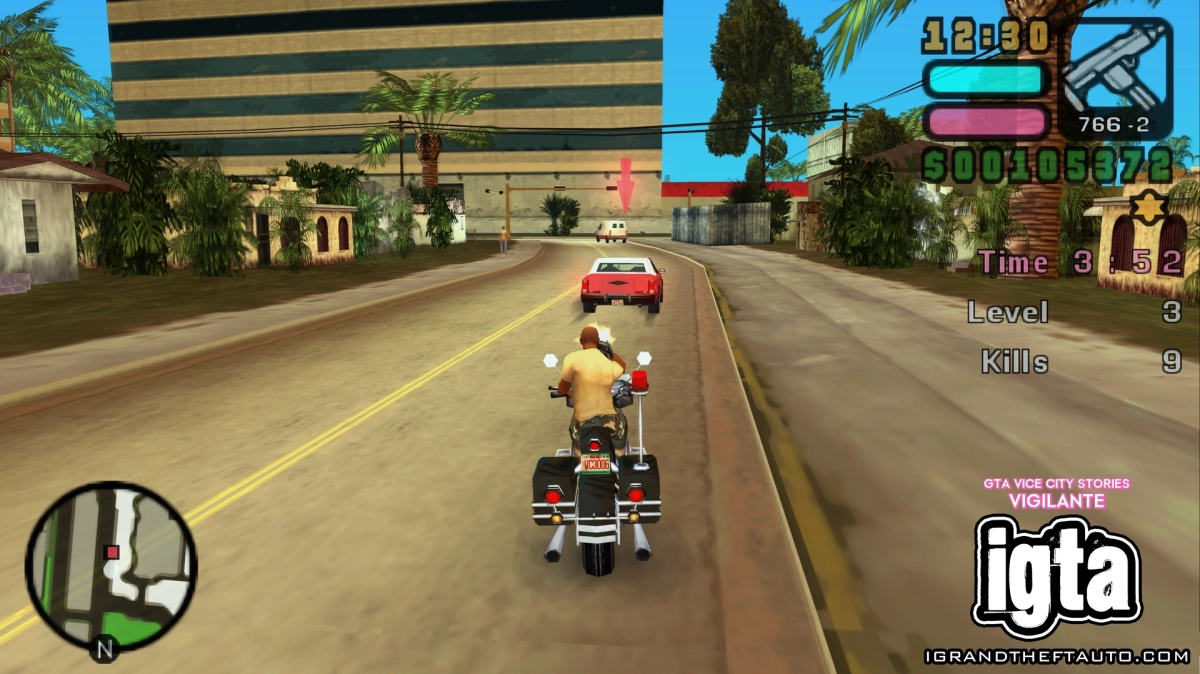
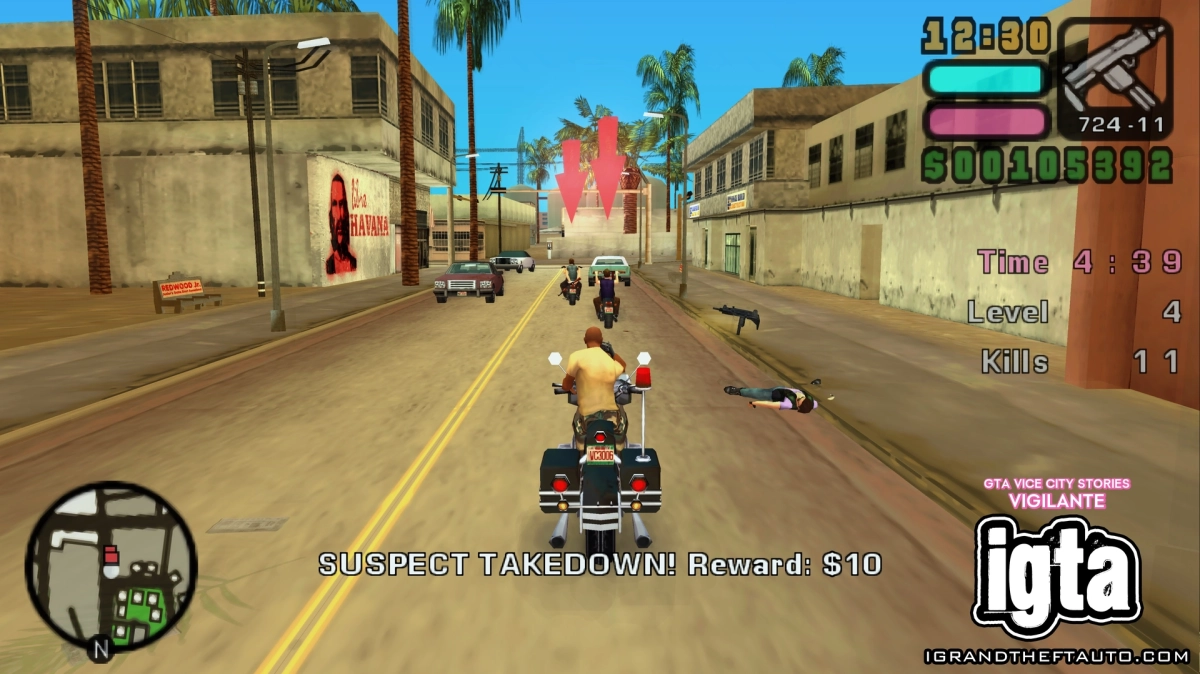
The objective of the Vigilante missions is to drive around the city, chasing after criminals marked with a red arrow and kill them. Unlike Vigilante in previous games, it's not always just a car chase. Enemies can appear in 3 different ways and the game will randomly assign them to you each time you start a new level:
- On Motorbikes
- In Cars
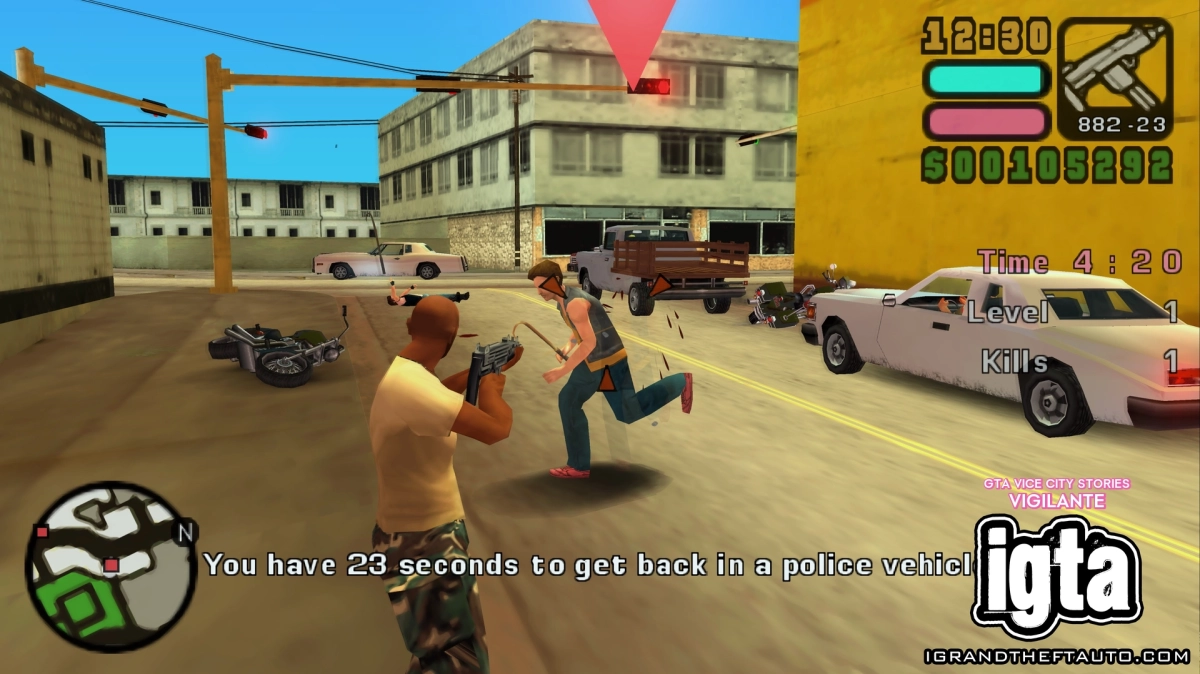
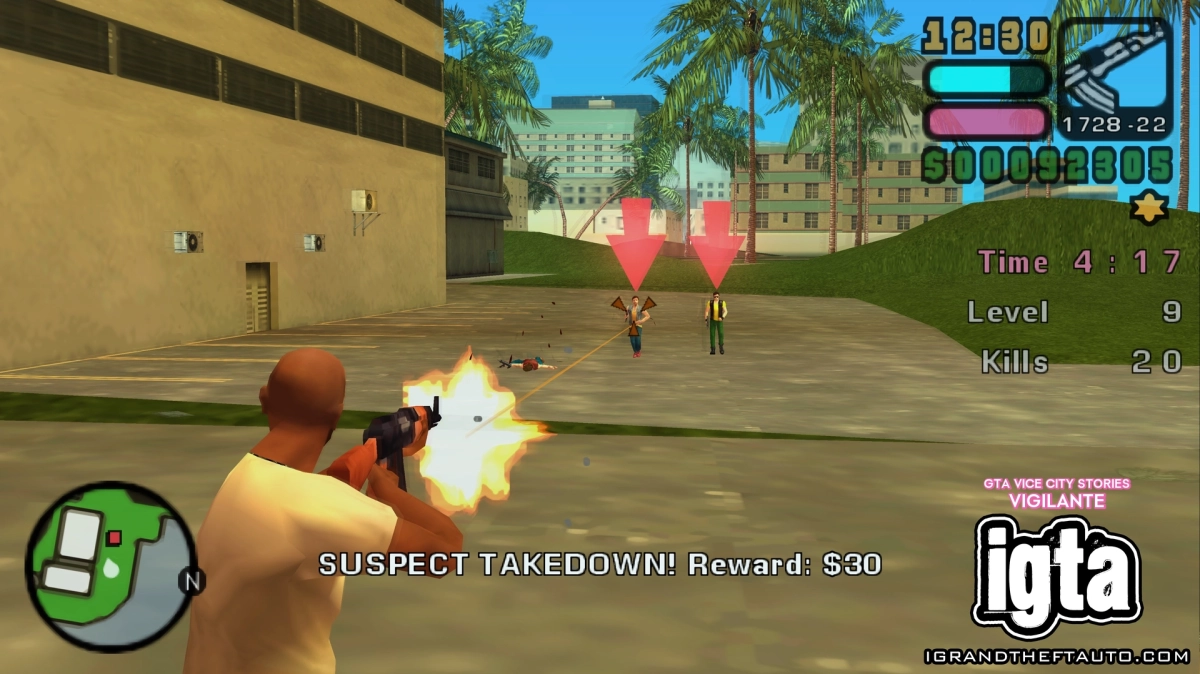
- On Foot
Criminals On Foot
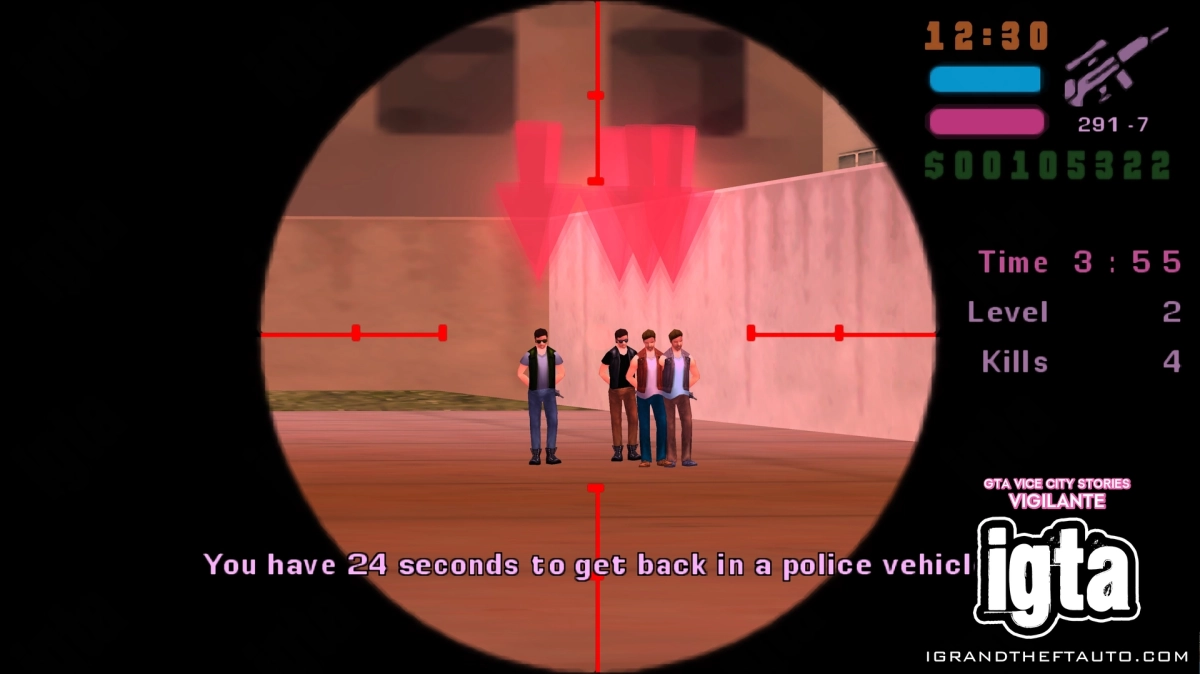
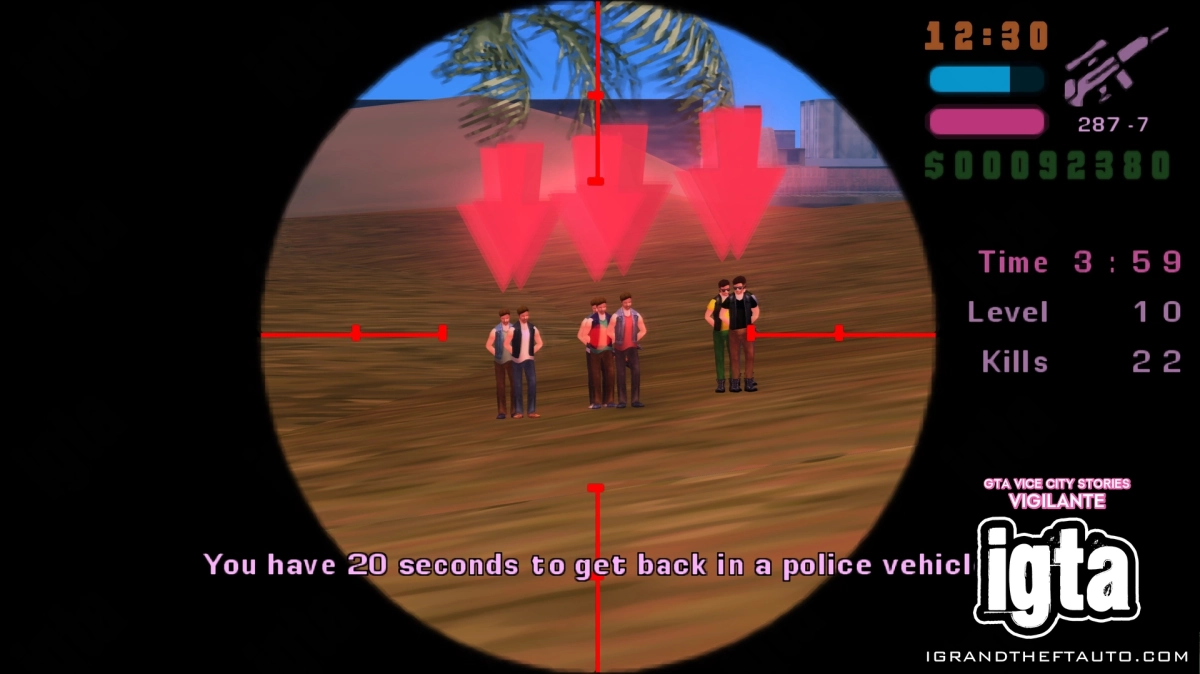
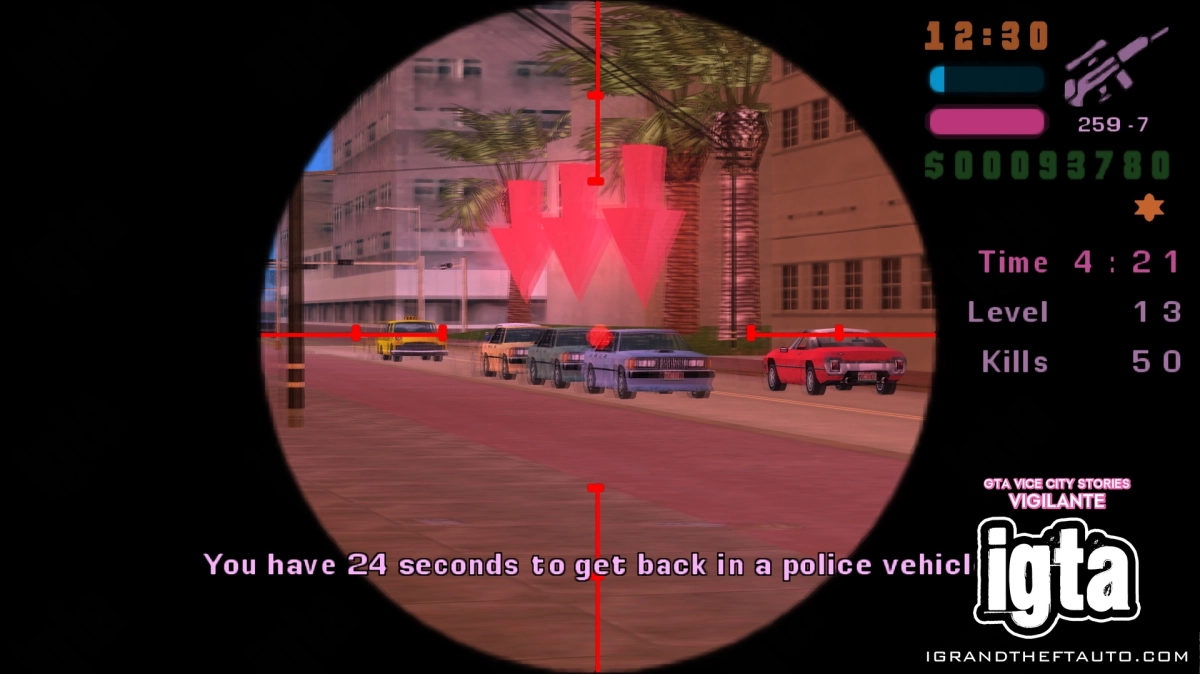
Criminals on foot are the easiest because you can keep your distance and snipe them or wipe them out quickly with an assault rifle.
Criminals On Motorbikes
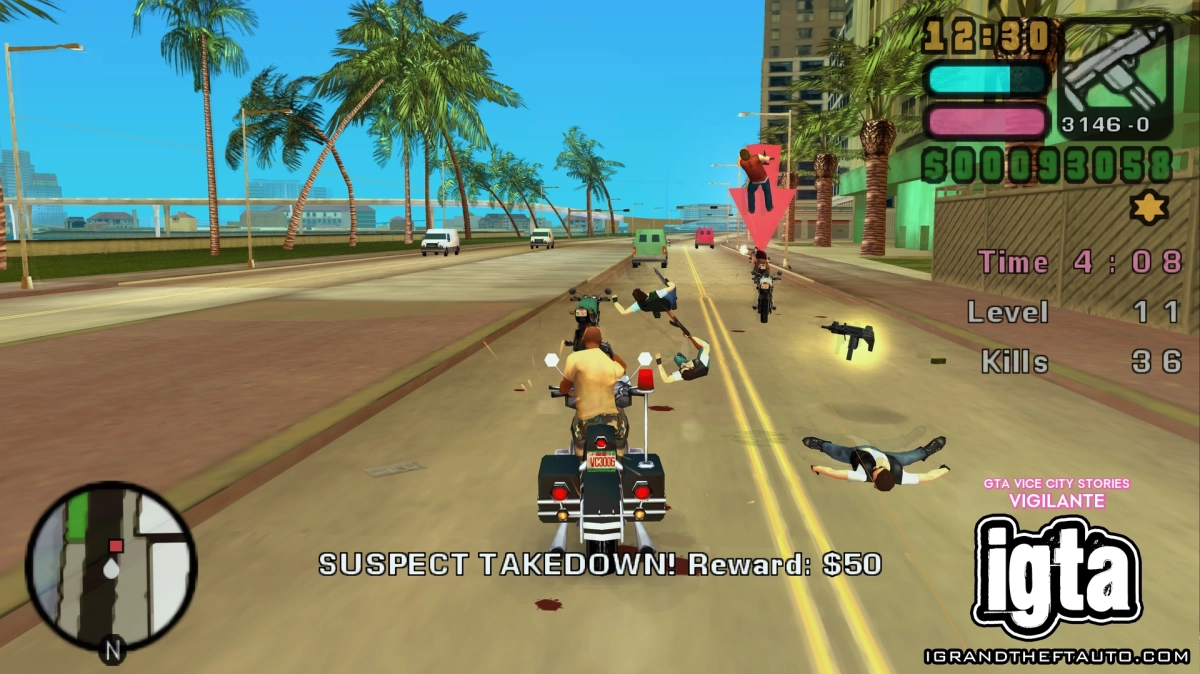
Criminals on motorbikes are the next easiest as you can drive-by them quite easily, although they will usually have a passenger who'll shoot back.
Criminals In Cars
Criminals in cars are the toughest as you'll need to cause quite a bit of damage to their car with drive-bys before they stop and get out. There's usually multiple passengers firing back at you while you're chasing them too.
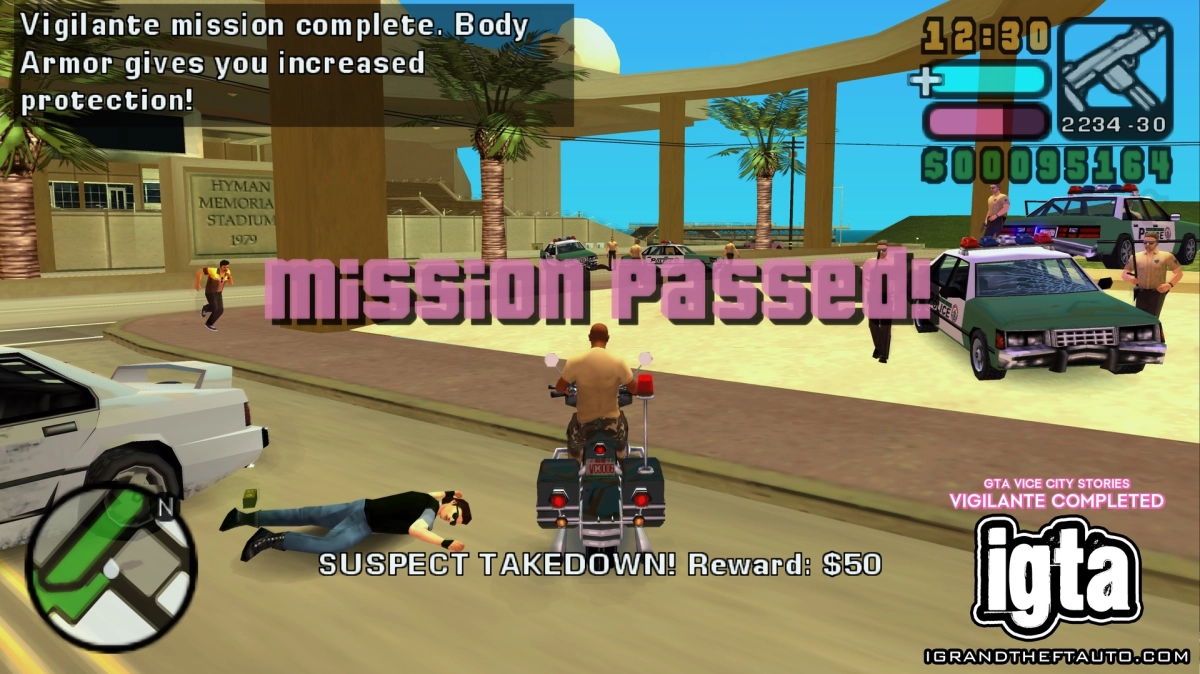
In order to complete the Vigilante mission and unlock the reward, you need to complete Level 15.
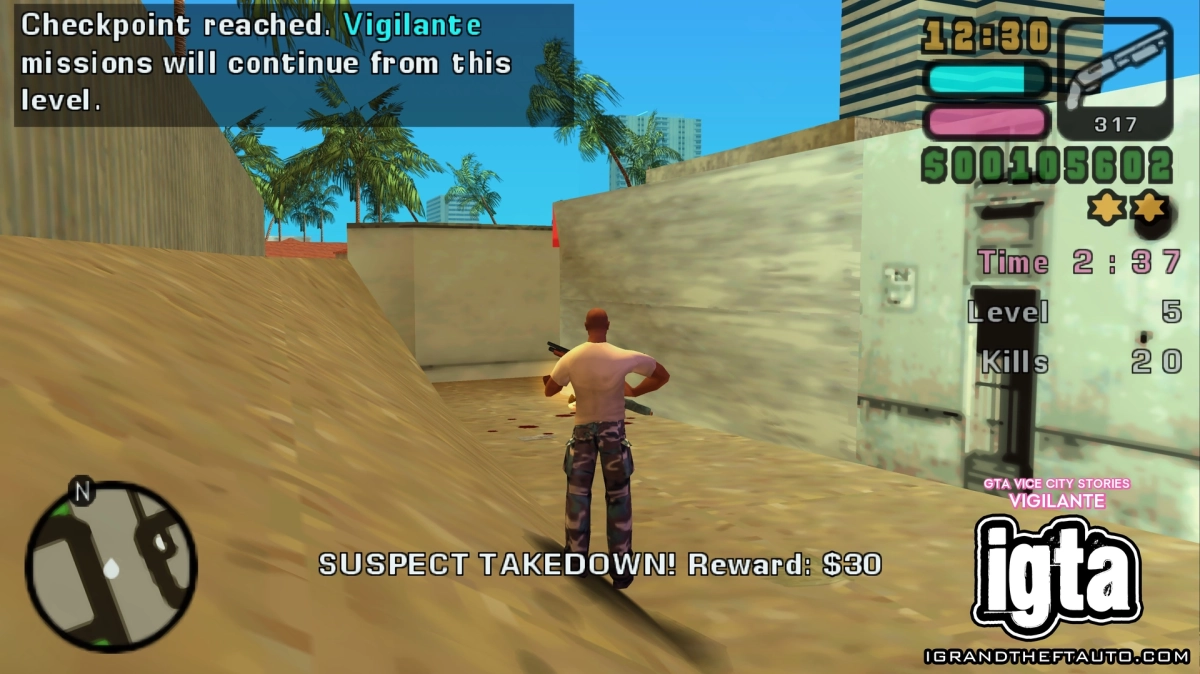
The mission up to and including Level 15 will take anything from 15-30 minutes to complete, but you don't necessarily need to do it in a single run. The game includes a checkpoint feature where your progress is saved after each 5th Level, meaning if you die or fail, you'll continue from Level 6 or 11 depending on whether you beat Level 5 or 10 respectively.
Time Limits & Rules
The time will constantly count down, so you need to be as quick as you can to reach the target criminals. You'll be given a decent chunk of time to complete each level, which is useful as drive-by shooting can be quite tricky, however there's not much time to waste.
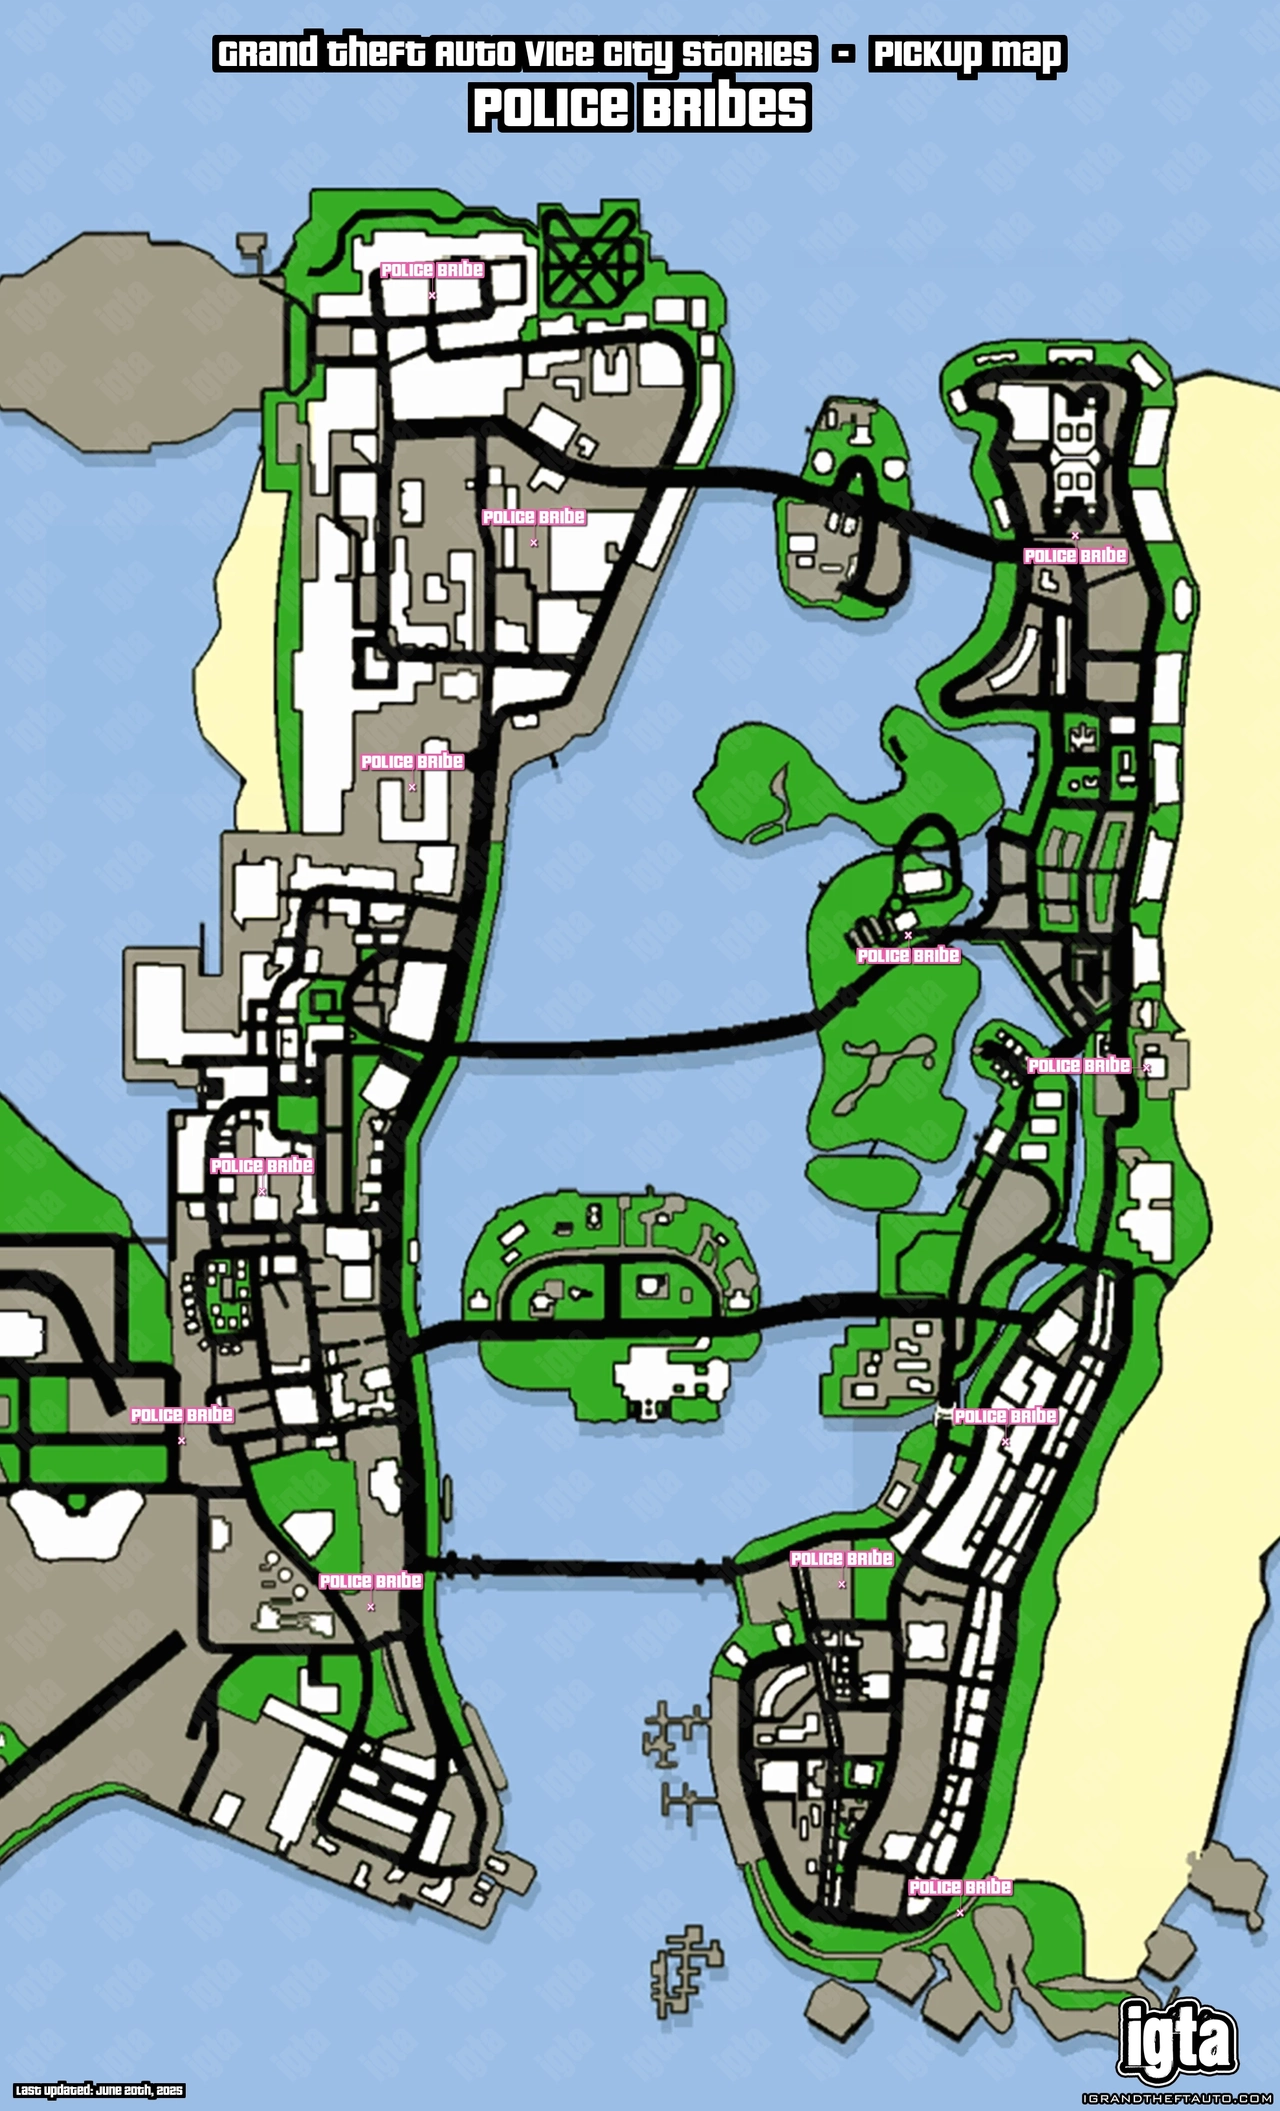
The worst thing about the Vigilante missions is that, despite the fact you're doing their job, the police really don't like you driving around the city spraying bullets everywhere and blowing up cars in a trail of destruction... You'll end up with a wanted level which is quite tricky to shake because you can't take your police vehicle to the Pay 'n' Spray. Your only solution is to try to lose a single star wanted level by avoiding the police for awhile, or hunt down police bribes around the city.
One of the benefits to having the police chasing you is that you always have access to new law enforcement vehicles if yours gets too damaged, but they'll also slow you down and you risk potentially being arrested.
You'll also fail the mission if you are Wasted, Busted or you run out of time.
Level Breakdown
The number of criminals you'll need to kill on each level seems to depend on the transportation method of the criminals, and possibly the phase of the Vigilante mission you're on. Levels 1-5 tend to spawn 4 criminals each time, 6-10 spawn 8 and 11-15 spawn 12, but this information isn't confirmed. It feels fairly random each time.
Tips
If you're doing the Vigilante missions at the start of the game, the police bike is the best option because you can drive-by forward, making it much easier to aim, although you will take damage too. If you're playing after the story, you should use the Rhino (army tank) or Hunter (attack helicopter) which will make things much easier.
You should definitely try to remember where you can find police bribes to help decrease the wanted level you'll inevitably receive. Use our handy map below.
In extreme circumstances you could exit the police car, jump in a regular vehicle and drive it into the Pay 'n' Spray, then get back into the police car within 30 seconds, but this will be tricky to do depending on the level of law enforcement on your tail.
You'll want to stock up on ammo for your drive-by weapon before starting the mission. You'll need at least 1,000-3,000 rounds of SMG ammo and you can buy it from Ammu-Nation.
You can get out of your vehicle for up to 30 seconds, so if you have an RPG or another powerful weapon you could wait on the road for criminal vehicles to approach and take them out without the need to drive-by, however enemy cars will often drive quite erratically and it's difficult to know where they're going to turn.
Rewards
- After completing Level 15, Vic will receive an increase to the maximum body armor, offering more protection when equipped. This will be marked on the games' UI with a '+' next to the blue bar.
- Cash rewards will increase with each level completed.
The Vigilante missions are a requirement towards 100% completion.
