Rigged To Blow
Someone's rigged D-Ice's car with a bomb, so Claude has to drive it all the way across Liberty City to get it diffused.
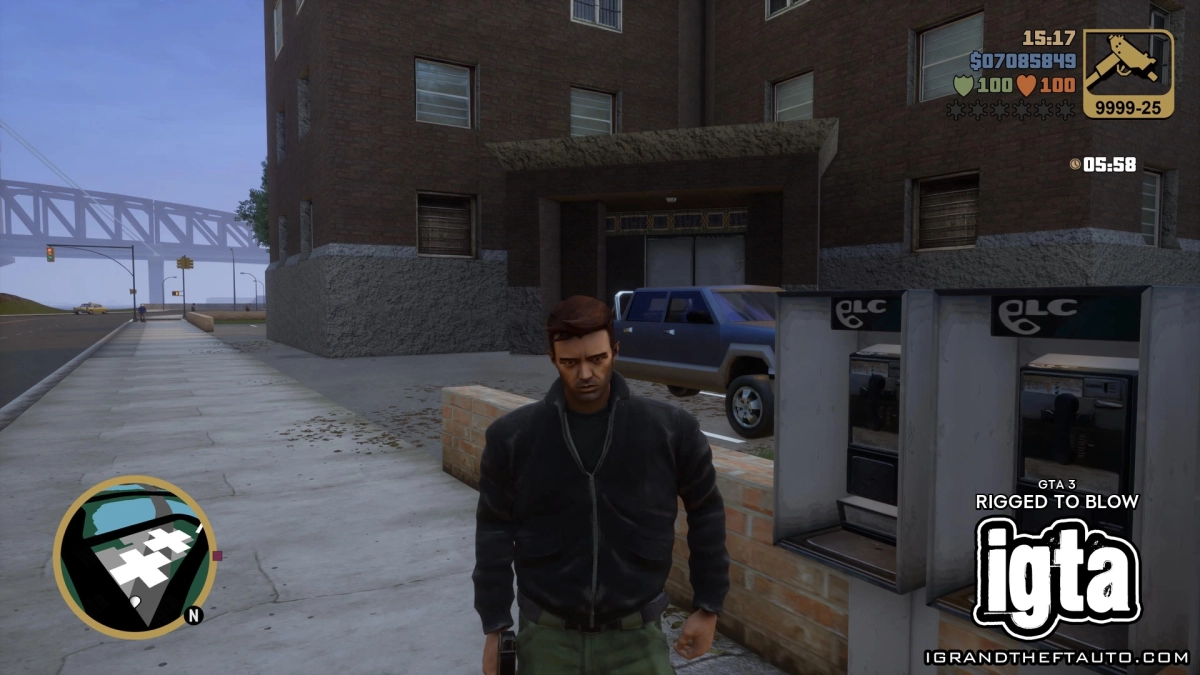
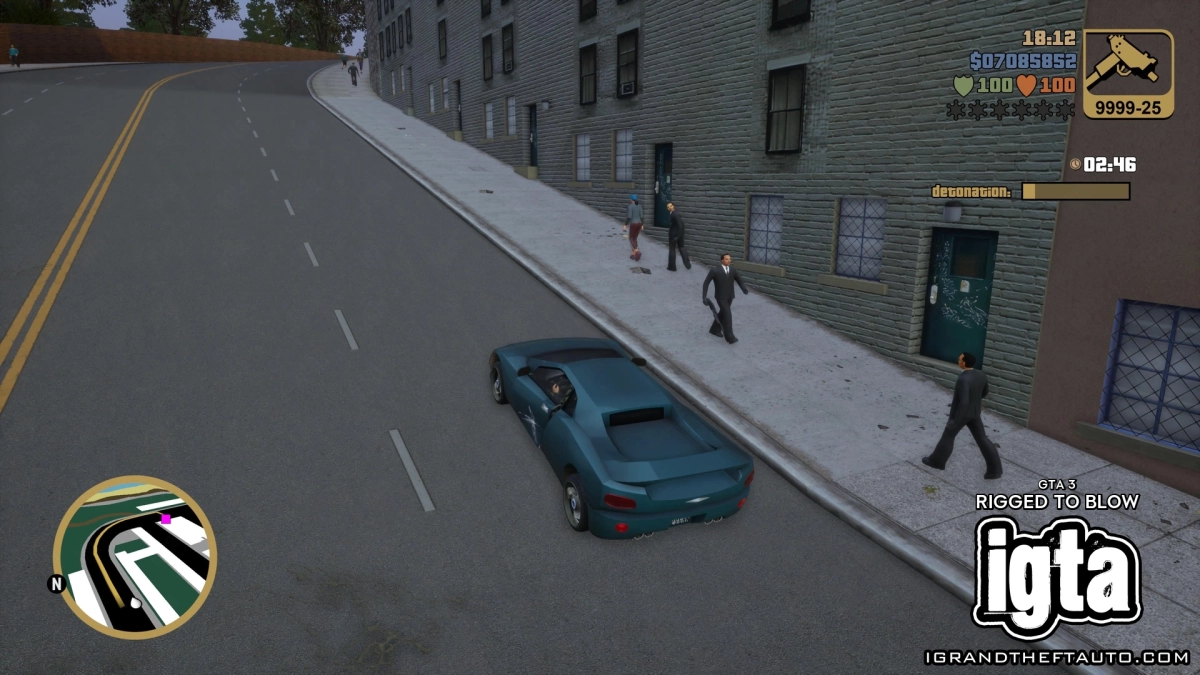
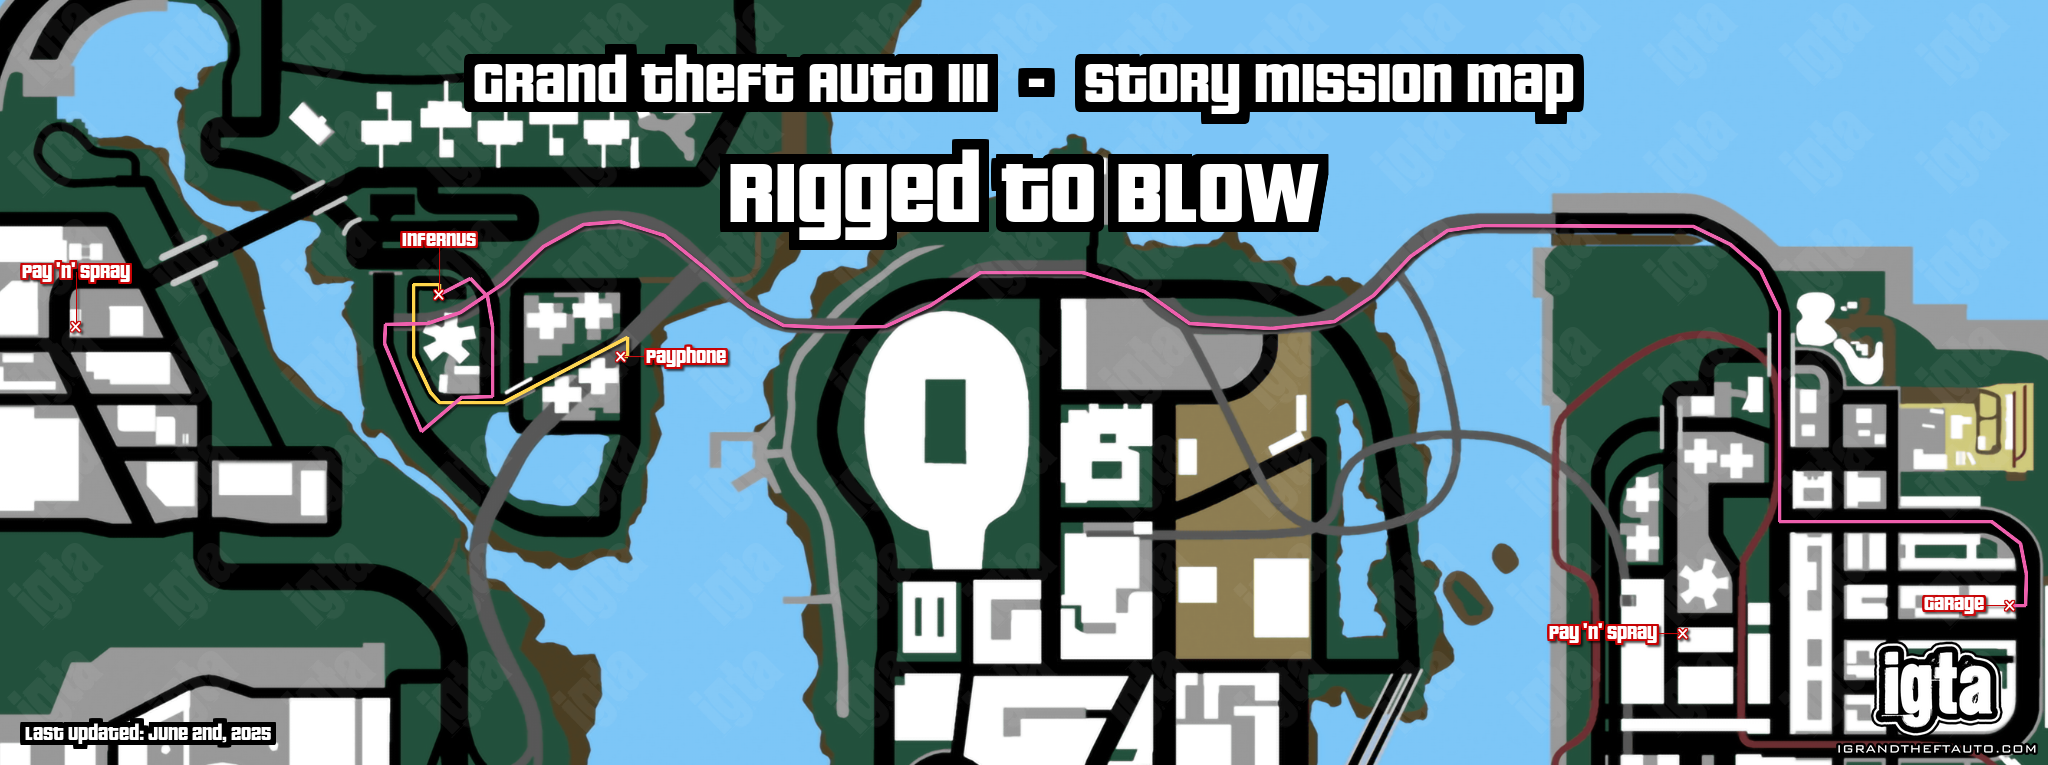
After the phone call, you'll have a 6 minute countdown timer on the screen. You'll need to pick up the car and carefully drive it to Saint Mark's in Portland before that time runs out.
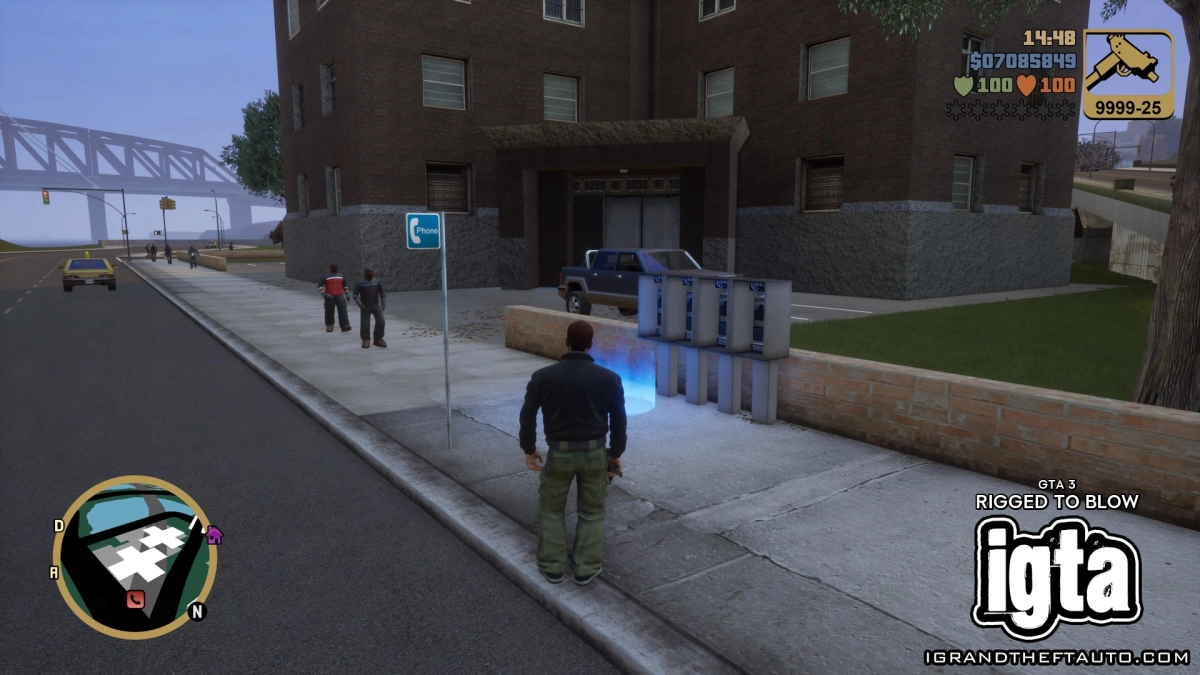
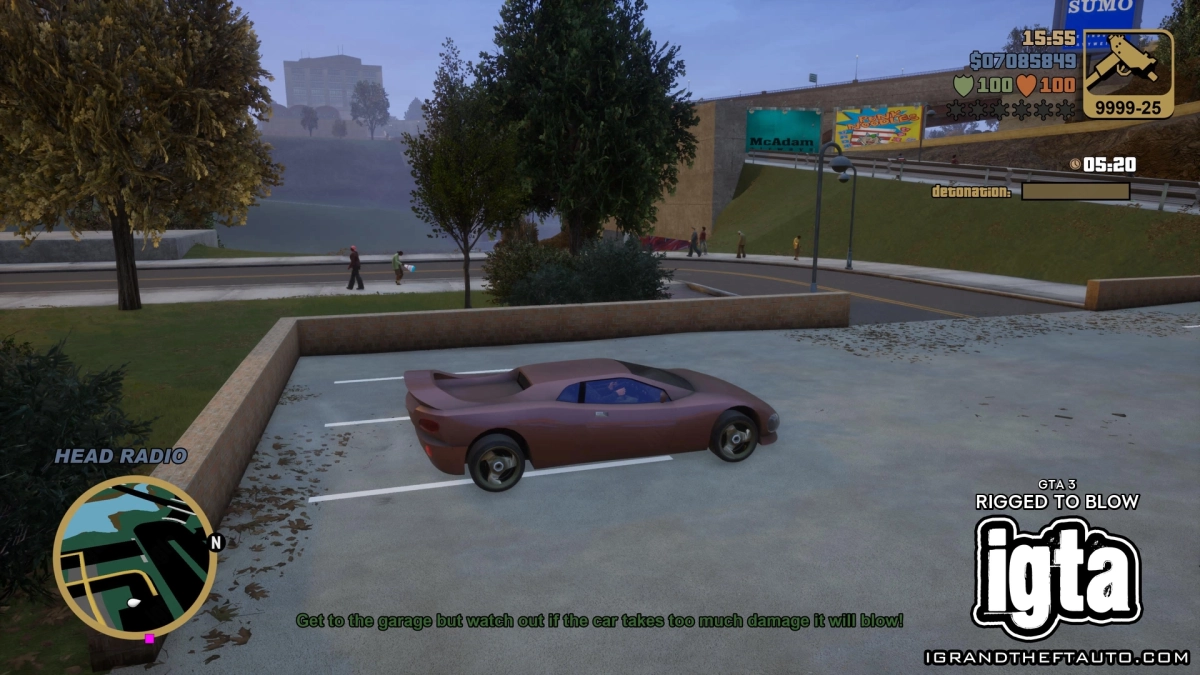
The car, an Infernus, is parked behind your safehouse building, where the Toyz van could be found in the previous mission.
Once you get in, a damage meter will also be displayed on the screen, with a message explaining that if you take too much damage, the car will blow.
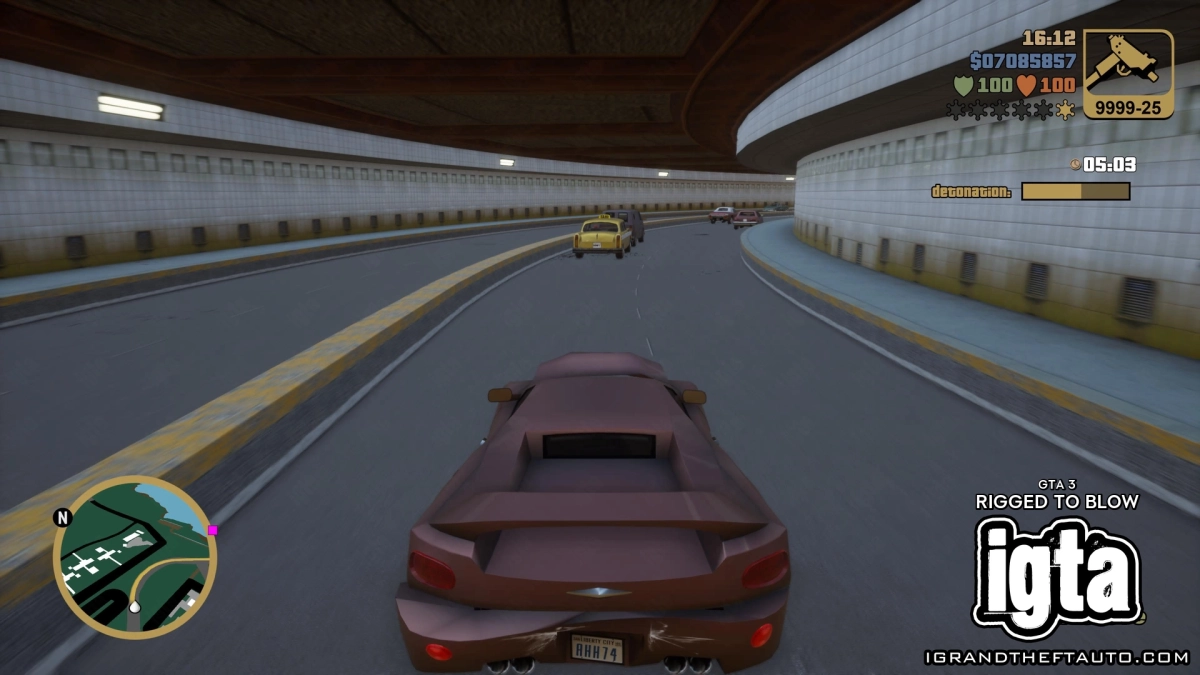
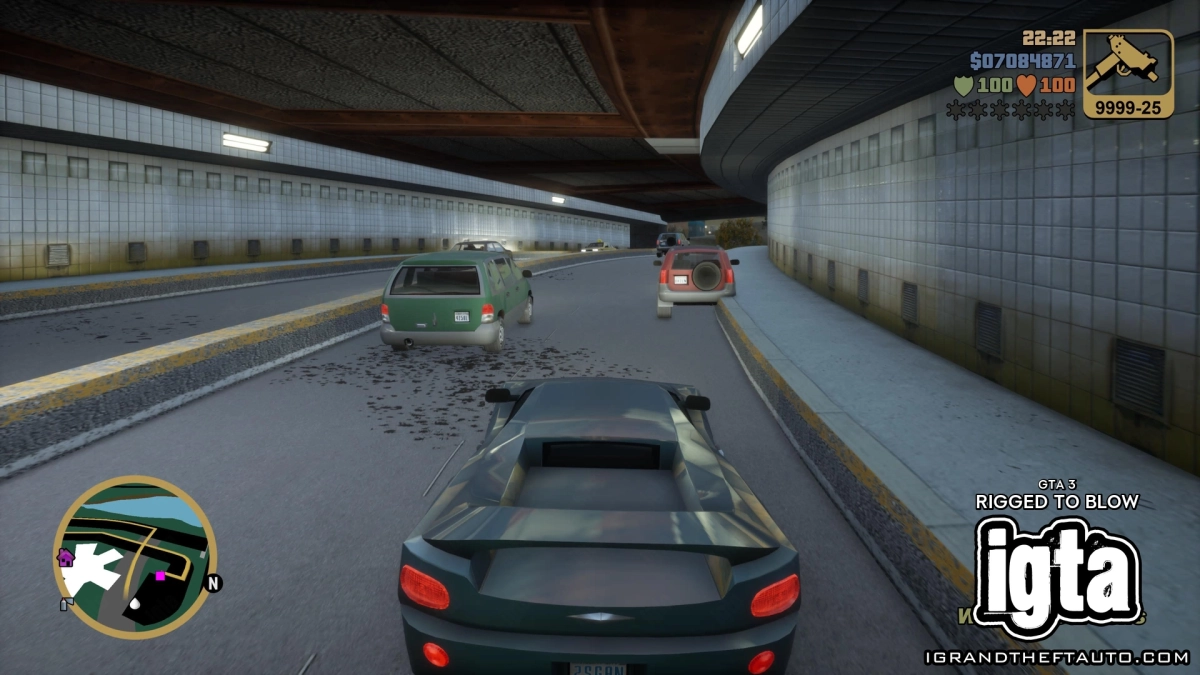
The 'quickest' route to Saint Marks is through the Porter Tunnel which is just down the hill from your safehouse. I recommend driving down the grass directly South of where your hidden package weapons spawn then around to the right to enter the tunnel.
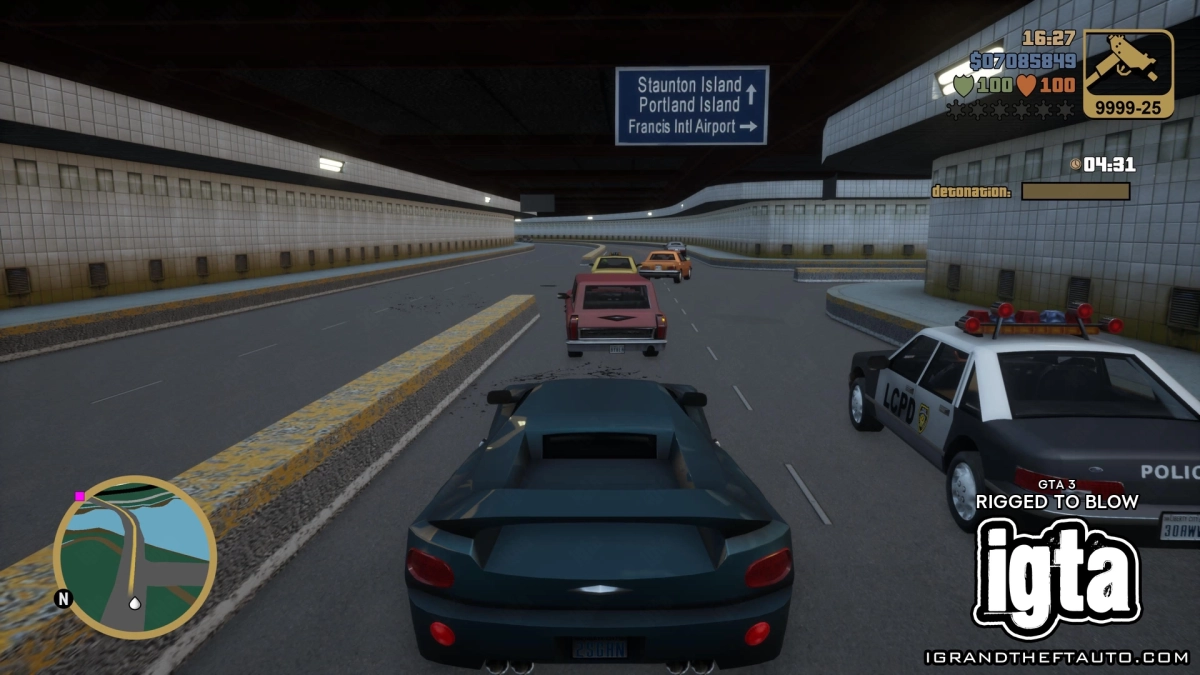
The problem with the Porter Tunnel is the traffic! Other drivers are seriously erratic and will change lane without any warning and for no reason at all. There'll also be slower cars which cause everyone to bunch up and there's not really any room to get past.
Normally you'd go on the other side of the road or smash cars out of the way, but you'll blow up after only a few minor collisions, so you just have to grin and bear it. You'll have enough time to reach Saint Mark's anyway, so just be patient and stay well back from the traffic to avoid any accidents.
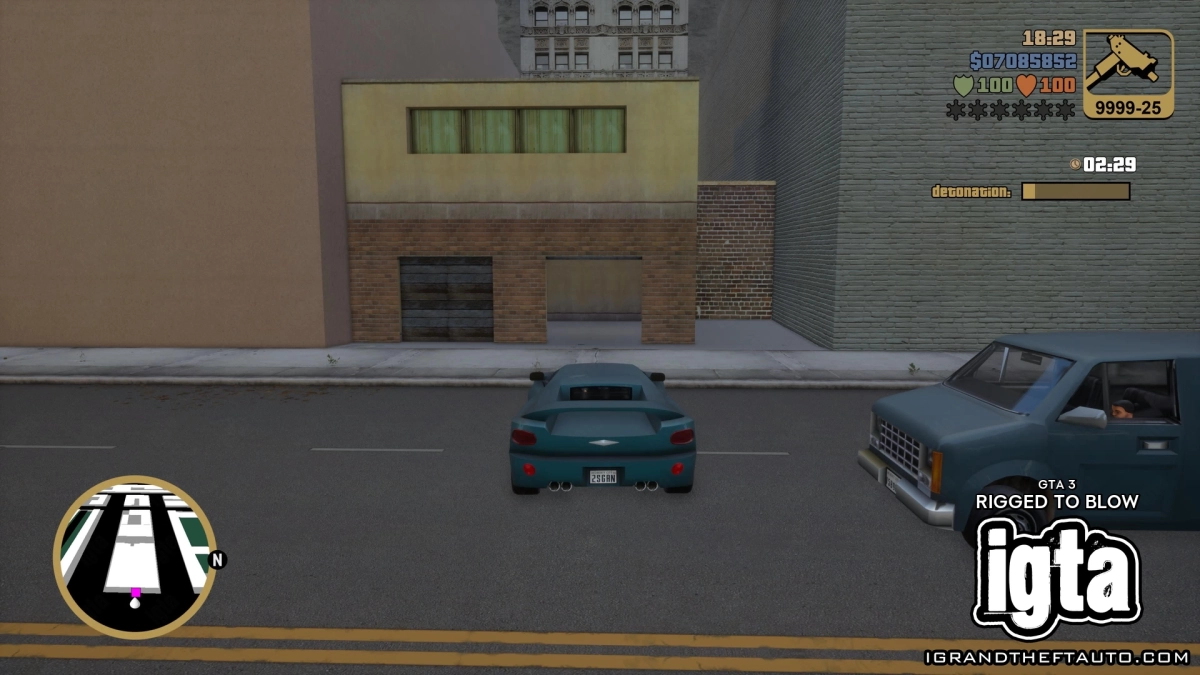
Eventually you'll come out in Portland, which is usually comes with a feeling of dread given the Mafia can blow up your car in milliseconds with their shotgun... But thankfully they're completely uninterested in you while on this mission!
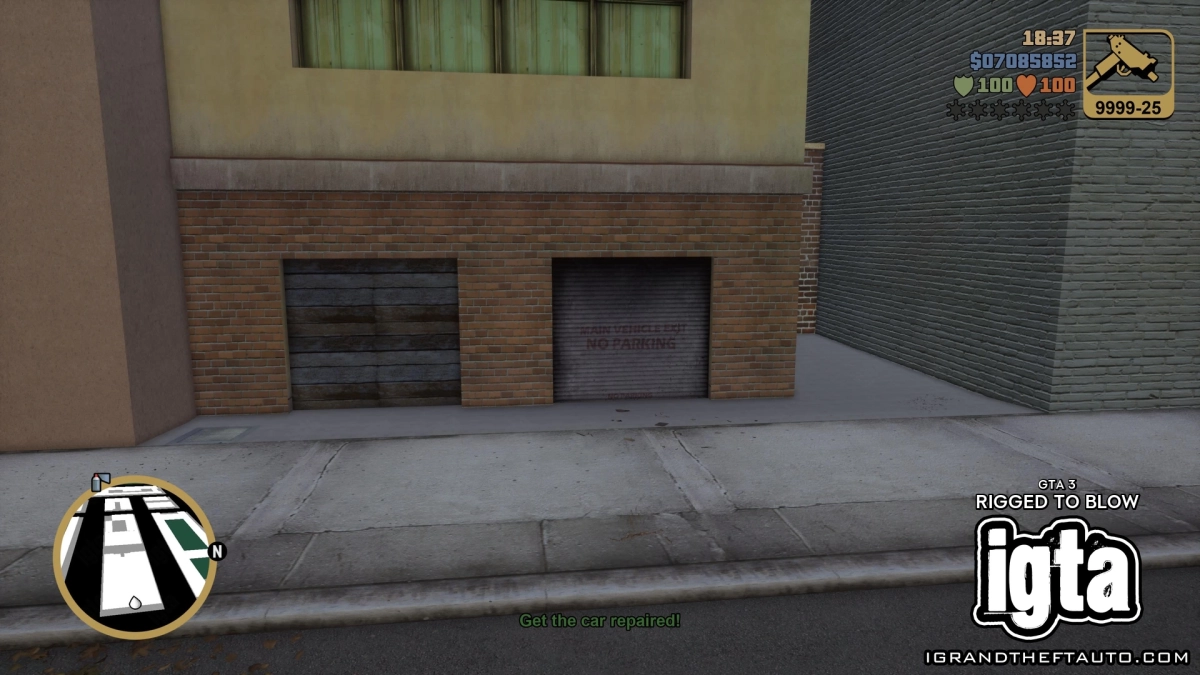
Head up the hill and you'll find the garage just opposite the entrance to Salvatore's place. Pull inside and the bomb will be diffused.
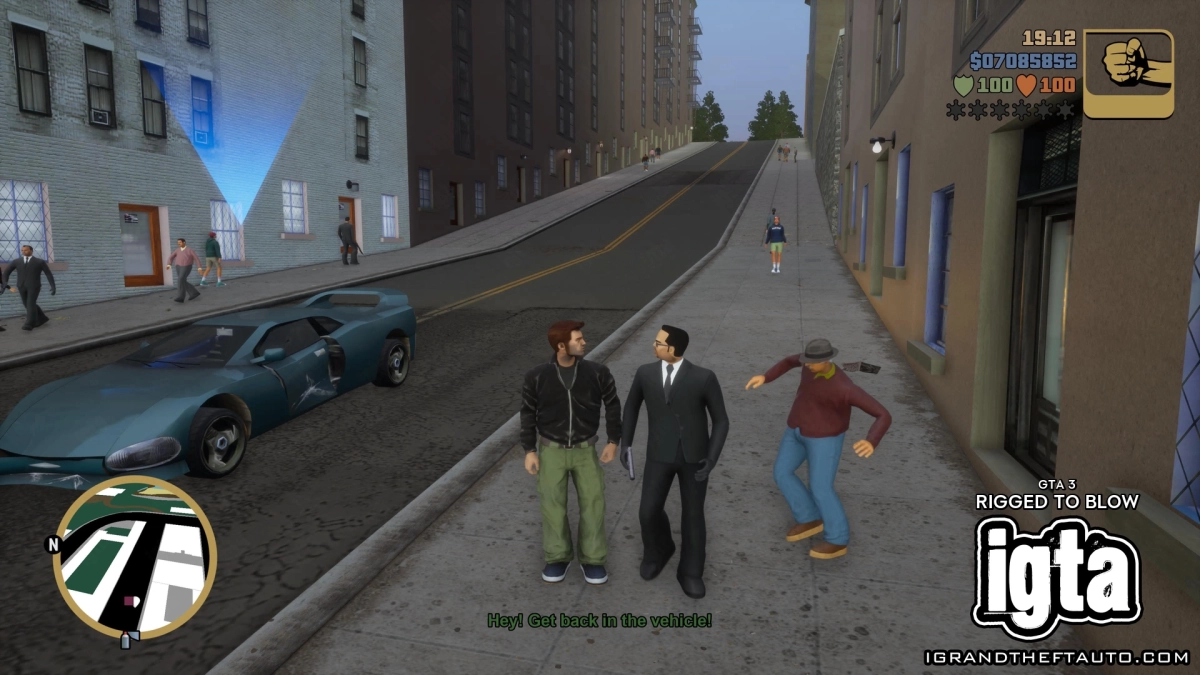
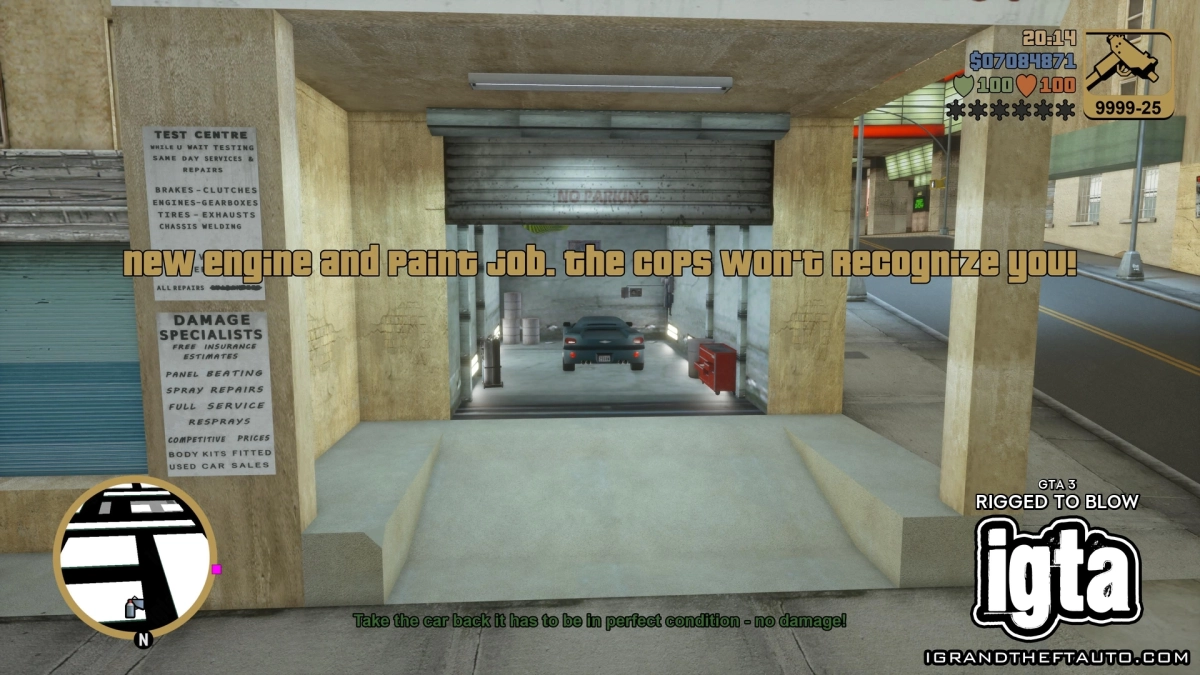
If it has any damage, you'll then be told to get the car repaired before taking it back to D-Ice, so head down the hill to the nearby Pay 'n' Spray. On the way, you can even get out of your vehicle to prove the Mafia aren't hostile!
Once the car is fixed, head back to the Porter Tunnel - as it's still the quickest way back, but this time you'll need to avoid damage because D-Ice wants his car back in mint condition. If you crash it, you won't blow up, and there's no longer a timer to deliver his car, but you'll need to go quite a distance out of your way to get the car resprayed, so it's better to take it easy and drive carefully, like a normal citizen for probably the only ever time in Grand Theft Auto!
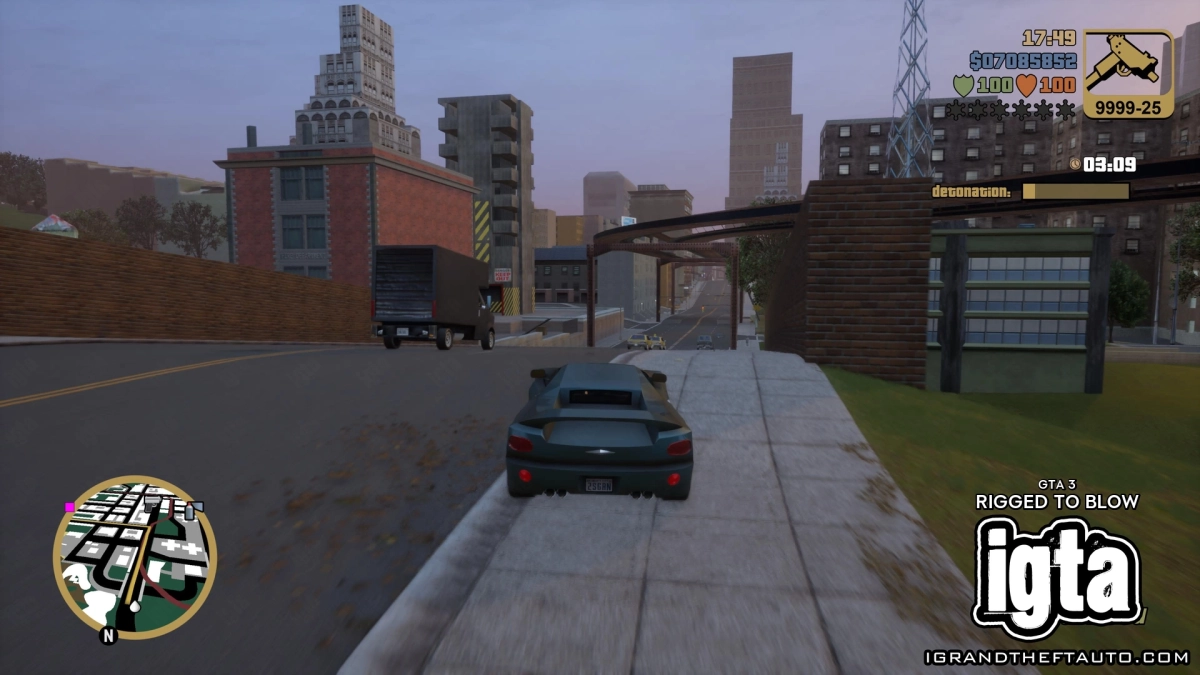
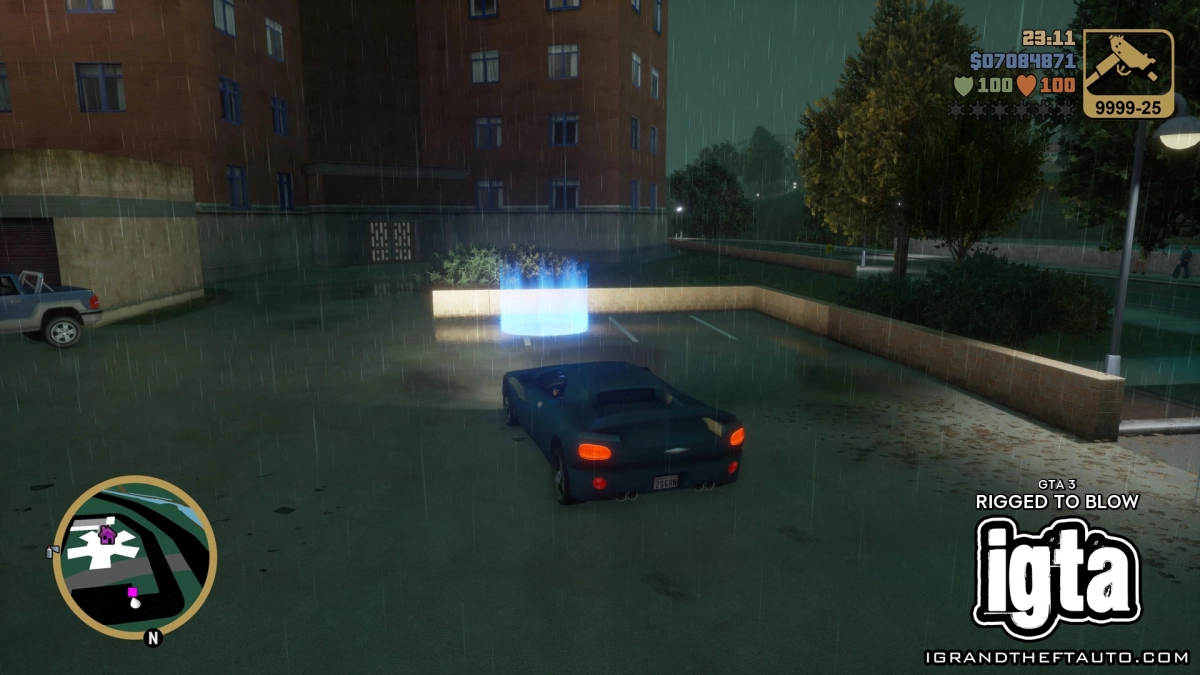
Exit the tunnel and drive back up the grassy hill near the safehouse, then drive it around to the parking lot where you collected it.
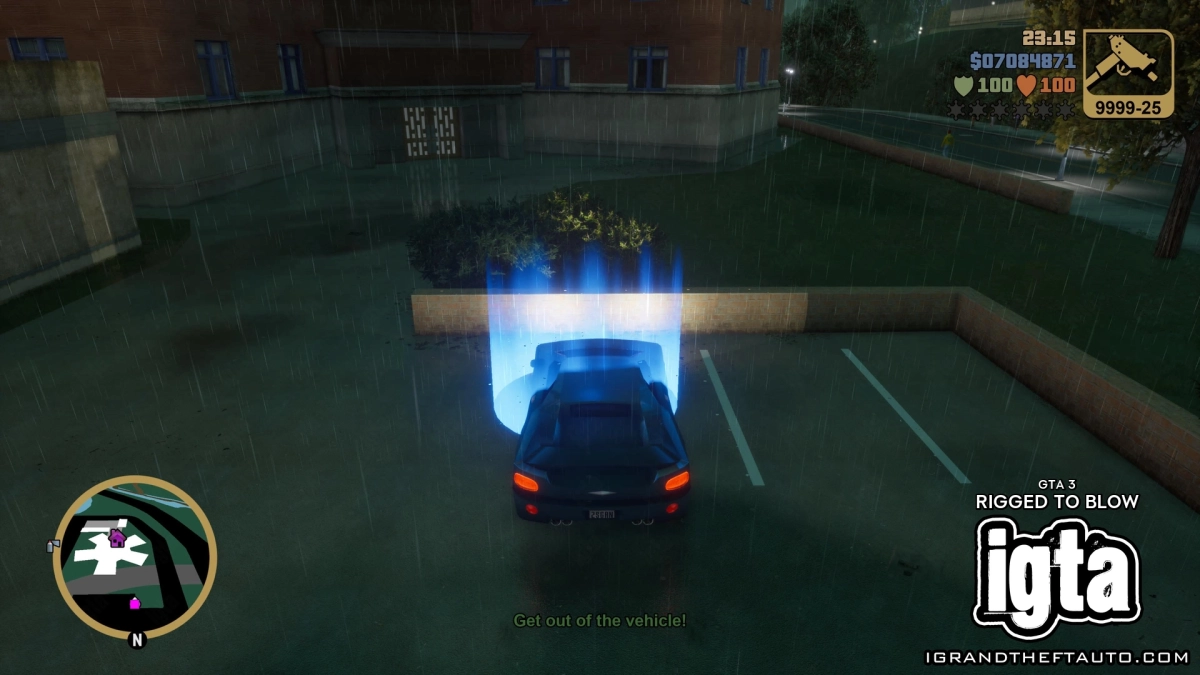
Park it up in the blue marker, then you'll be told to get out.
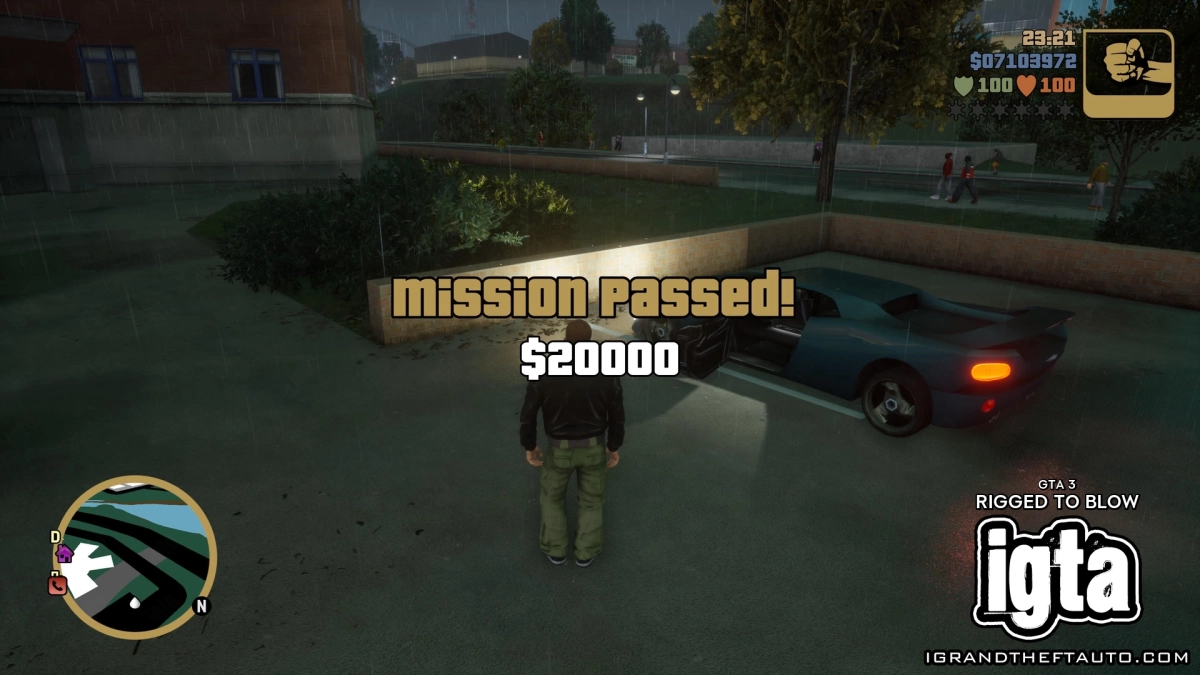
Mission Passed!
Feel free to get straight back into the car and put it in your garage if you want.
- Reward: $20,000
- The next mission is now unlocked, from the same payphone.
- Mission Unlocked: Bullion Run

